
After dinner I sat down in Photoshop and touched up Bart's eyes. I didn't go for the cartoony big eyed look but I did make his head bigger. I printed out two parts, a tiny body and a big head, on cardstock at about 2" tall for a keychain and cut them out. Turns out my photo printer kind of sucks and the print quality wasn't all that good, and I probably should have done some color correcting to remove a bit of the blue from the print, but I got lazy.
I sealed the prints with hairspray so the mod podge wouldn't cause the ink to bleed and let the pieces dry. When I went to coat the pieces with the Mod Podge, I wasn't sure what to expect, but it's some seriously cool stuff. I found that it doesn't run off the edge even of a thin piece of paper as it holds it's surface tension really, really well. If you do happen to get a bubble, simply touch it with a fingertip and it'll come right off on your finger which is a much better place for it than in the center of your project. Failing that, push it to the edge of your shape and draw it off the side. I used the tip of my scissors for this and it worked well, just be careful not to make break the surface tension on the glaze or it will spill off onto your work surface and then you have a problem on your hands.
I'll let the pieces dry overnight, coat the back tomorrow morning, and punch a hole to attach to my keychain and take some pics. I'm afraid the color won't be very nice due to the low quality of the print. Maybe I'll try it again on photo paper tomorrow and see if the image turns out better.
Update from Tuesday morning: I woke up to find that the dimensional magic glaze dried really well, but I had some issues with the method of sealing the ink. I don't think I got enough coats of hair spray. My inks ran and the paper curled a bit. I actually cracked the glaze trying to straighten it out, so I sat this morning and cut out another doggie and decided to try a different method to seal the ink. I'm sure it helps that the print has sat overnight and isn't fresh off the printer, too, but this time I used several coats of clear nails laquer before applying the glaze. I figured the nail glaze would keep the paper stiffer than hairspray so I won't have the warping issue. I'll let it dry today and flip it over and coat the back later and come back for an update.
Update from Tuesday afternoon: Front is completely dry and I'm really happy with the color. No bleeding and everything looks really nice and clear with minimal warping. When I went to flip the pieces over to coat the backs, I had gotten the body piece caught on the paper I had them drying on, so there's a bit of print under the glaze on the back, but meh. It's the back, so who cares. I'm going over to the in-law's for dinner, so when I get home, I'll punch a hole and stick the keyring on. I might even make a little dangling charm to go with it. We'll see.
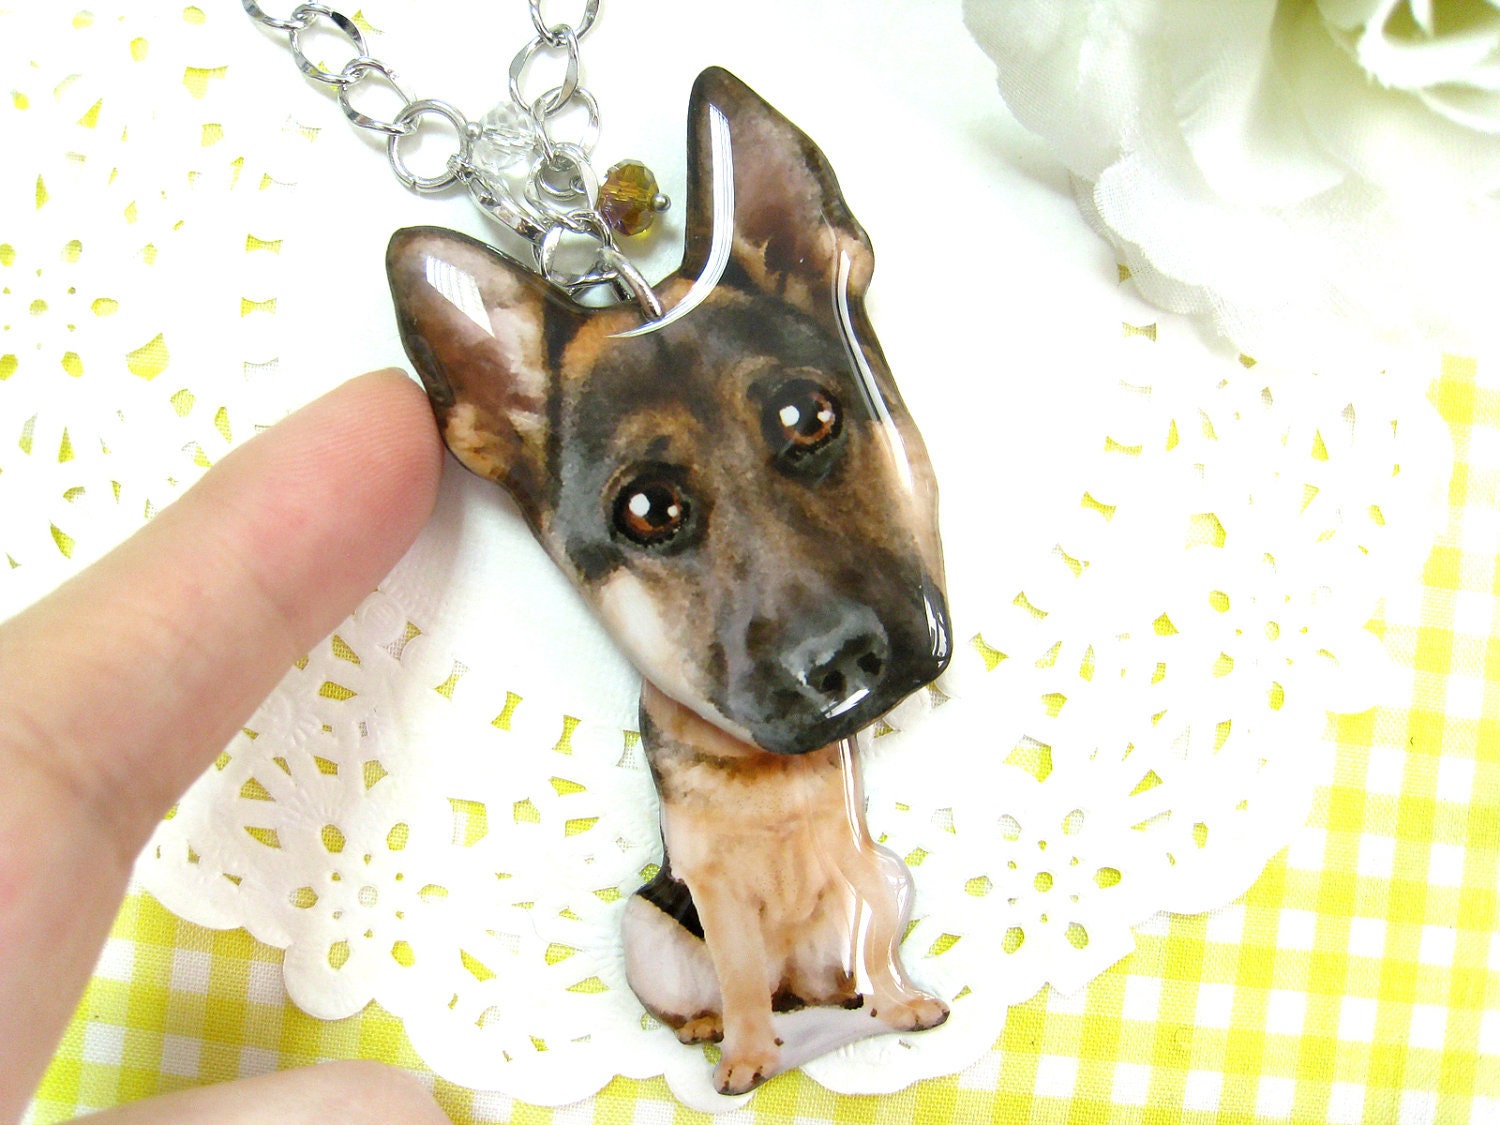
 Update from Tuesday night: The glaze on the back dried really well and it took no time at all to punch a hole and insert my keyring. There are some minor defects that if I were going to gift this, I'd want a do over to fix, but overall I'm happy with it. For one, I broke the surface tension while waiting for the back of the doggie's head to dry by sticking my stupid finger in the glaze accidentally. This caused the glaze to slip under the ears and glue the piece down to my work surface. As a result, I had to pry the piece up and there are some dull spots on the ears that are a bit unsightly. Also, you'll see some blue streaks in the body of the larger keyring in the pics below. This is where I didn't get a good enough coat of nail laquer under the mod podge and the ink leached. I'll be careful about that if I ever attempt a project like this again. And also, I hear that if you take really hot water, you can dissolve the glaze, so that might be a way to smooth out the dull spots on the ears, but I'd be too afraid I'd get the ink wet if I weren't careful as the edges aren't totally sealed in. And then his little head would be ruined for sure. In any event, I may make a third attempt to achieve perfection at some point.
 In the pic of the finished item below, you'll also see the smaller doggie that was a fail from yesterday.
I have never sealed anything that I printed from an inkjet printer before doing the mod podge. I don't think you need to but maybe you do with the dimensional stuff.
ReplyDeleteI've had tons of issues with ink bleeding. Might be the particular brand of ink or paper I use, but the dimensional stuff stays wet on the paper for a long time, so it will definitely soak in and cause ink bleeding. Regular mod podge dries so fast I haven't had too much issue with it, though I have had some things blur a bit. I'm also super impatient and probably should let the printed pages sit overnight before doing anything with them.
Delete